Employer Portal - Calendar
The Calendar page shows the employer-wide calendar, encompassing the events for all active employees.
As leave is added for employees within the employer file in BrightPay, these updates will be reflected here after the data synchronises to BrightPay Connect.
Calendar View
1) Under the 'Settings' tab on the Employer Dashboard there is 'Calendar' option where different options can be selected for an employer or an employee to view.
2) The option for the calendar and annual leave entitlement to be displayed are available to select as required.
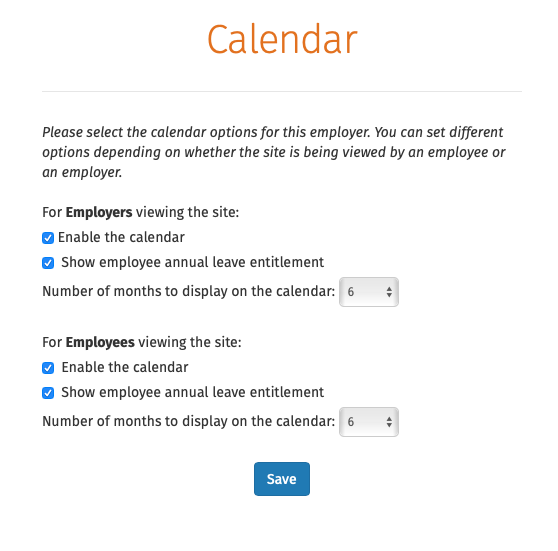
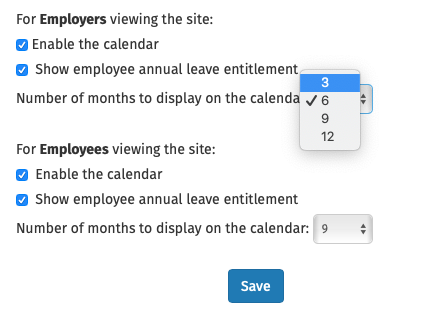
3) The display of number of months on the calendar for both employer and employee can be selected. Options are 3 months, 6 months, 9 months and 12 months display.
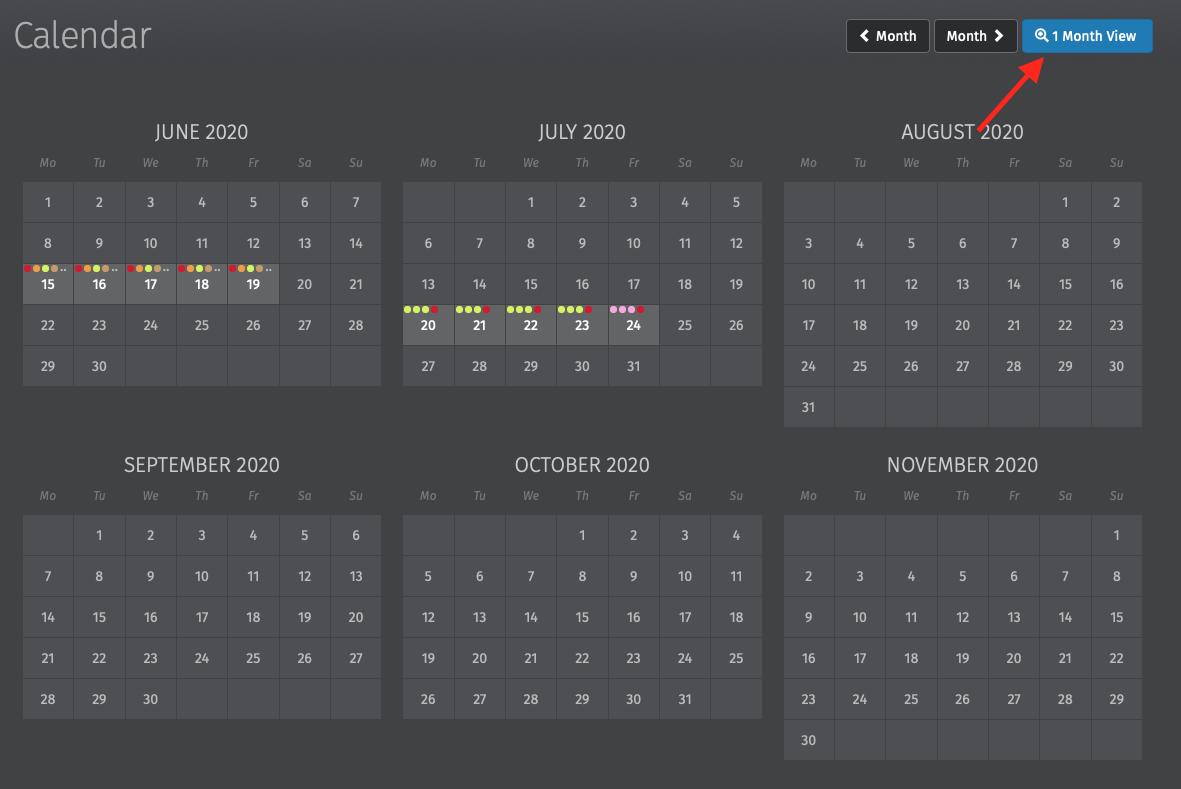
4) When viewing the calendar you can view the calendar in the months display as selected. Use the 'Month' navigation buttons at the top right of the calendar to move forwards and backwards in the year.
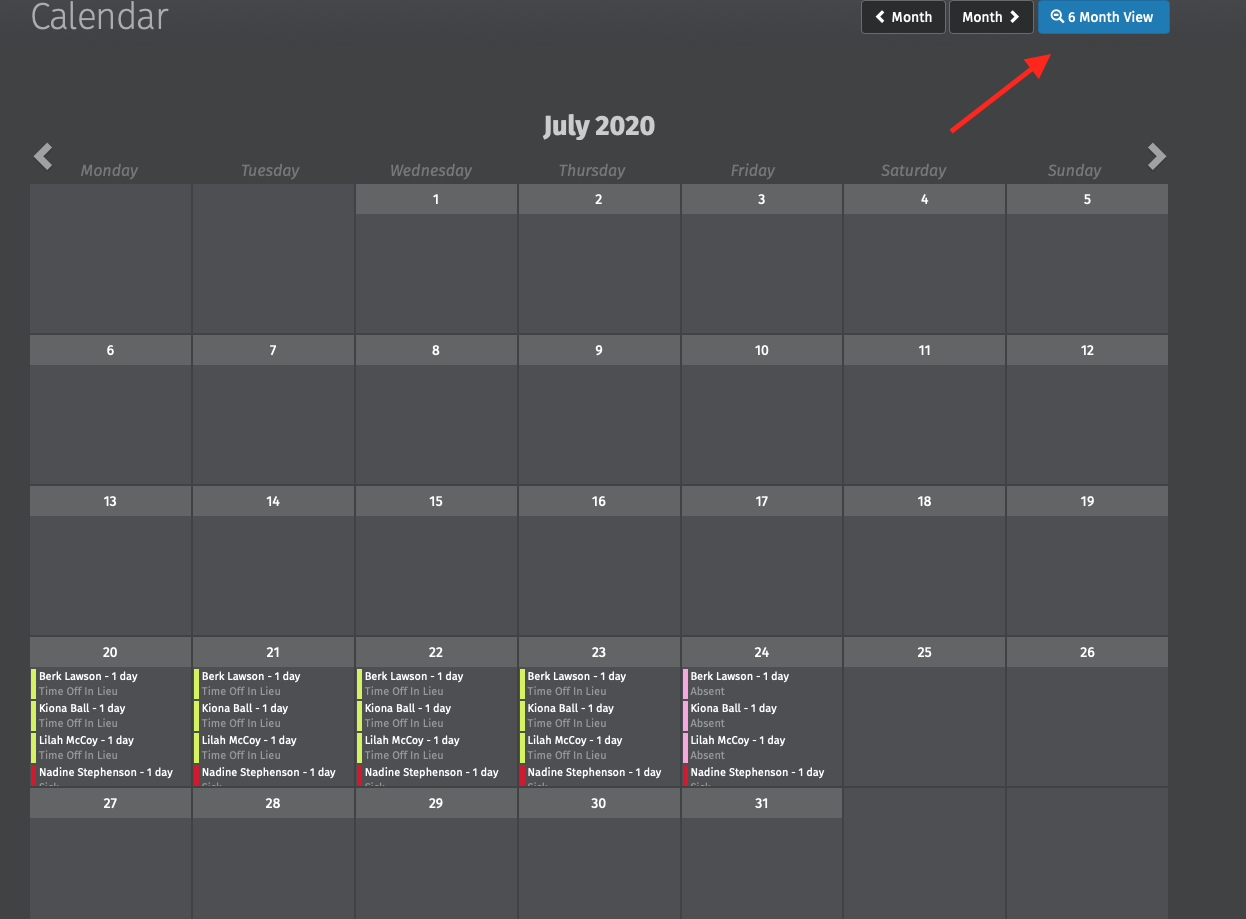
The calendar can be displayed for one month if required by selecting the '1 Month View' option.
A more detailed view of the leave can be viewed on the '1 Month View' on the calendar. Use the 'Month' navigation buttons at the top right of the calendar to move forwards and backwards to the next months. To return to the normal view select '6 Month View'.
Leave Types display on Calendar
On any particular date, the type of leave will be displayed and coloured on the calendar as follows:
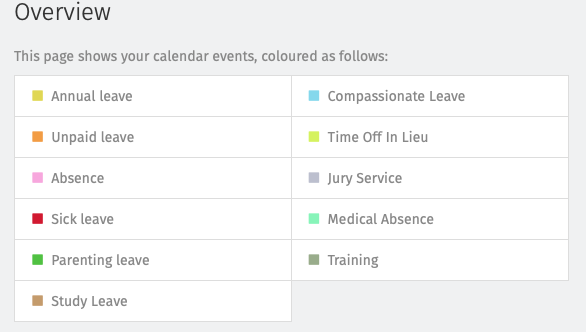
Custom leave types can be created and edited in the employer file in BrightPay. Please see more details here.
Dates with multiple types of events are dotted with the relevant colours. To see the breakdown, simply move your mouse over the date.
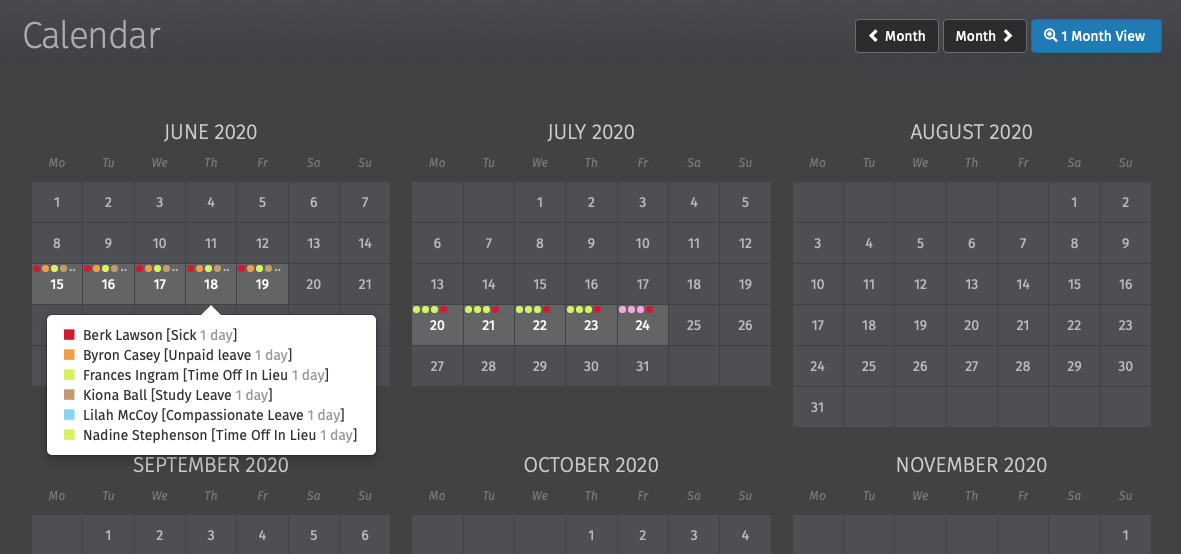
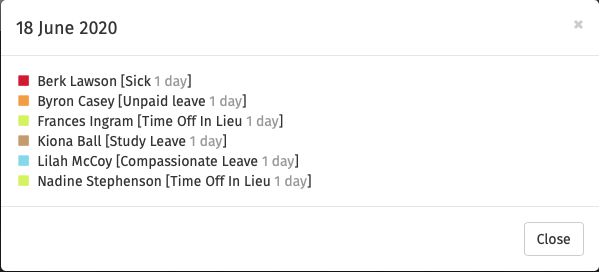
Or click on a date on the calendar and a dropdown window will show all the leave details.
Please note: Employers can only enter in custom leave types on the calendar in Connect or in BrightPay. Employees cannot request the custom leave types on their online portal or employee app.
Need help? Support is available at 0345 9390019 or brightpayuksupport@brightsg.com.


