Order BrightPay using your Bright ID
In order to purchase a Bright product, you will need a Bright ID (previously known as a BrightPay Account).
- Go to https://id.brightsg.com/login
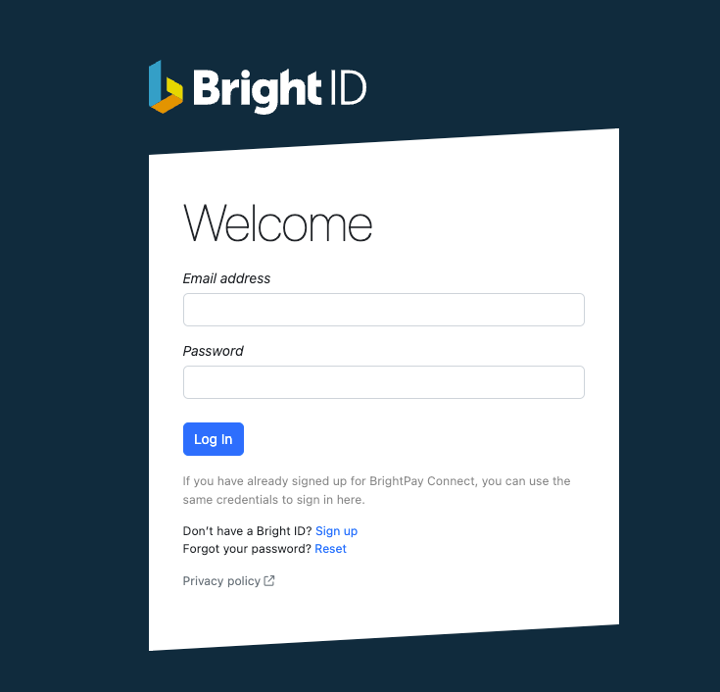
- Click ‘sign up’ to create your Bright ID
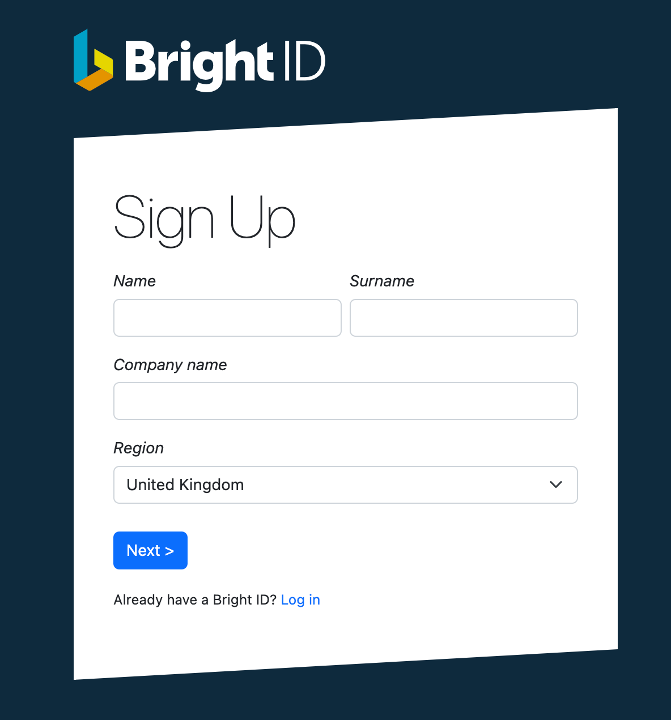
Please note, if you have already signed up for BrightPay Connect, you can use the same credentials to sign in here. If this is the case, please skip to step 3. - Enter your full name, company name and region. Click ‘Next’.
- On the next screen enter your email address and create your password.
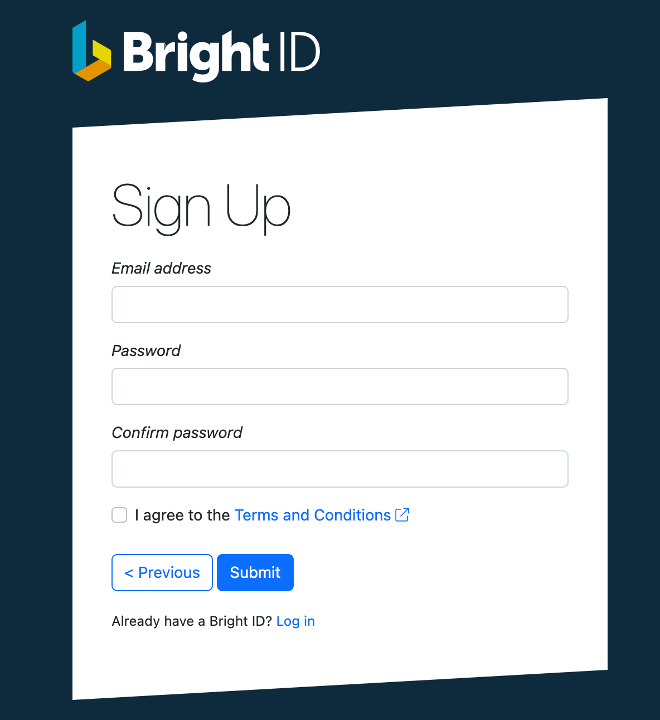
- Once you have read and agreed to the Terms and Conditions, click Submit. There is also an option at this point to go back if you’ve made any mistakes.
- Once these steps are complete you will receive an email where you will need to confirm your account. If you can’t locate your confirmation email, try checking your spam folder.
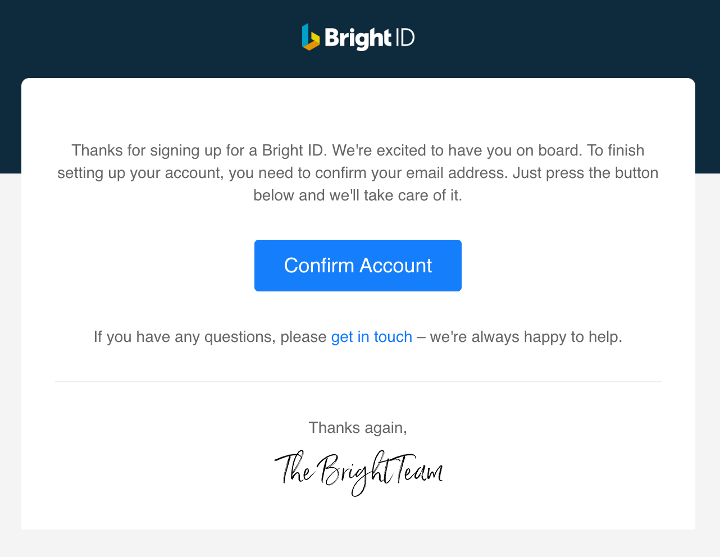
- After clicking ‘confirm account’, you will see confirmation that your Bright ID is successfully set up and you are now ready to login.
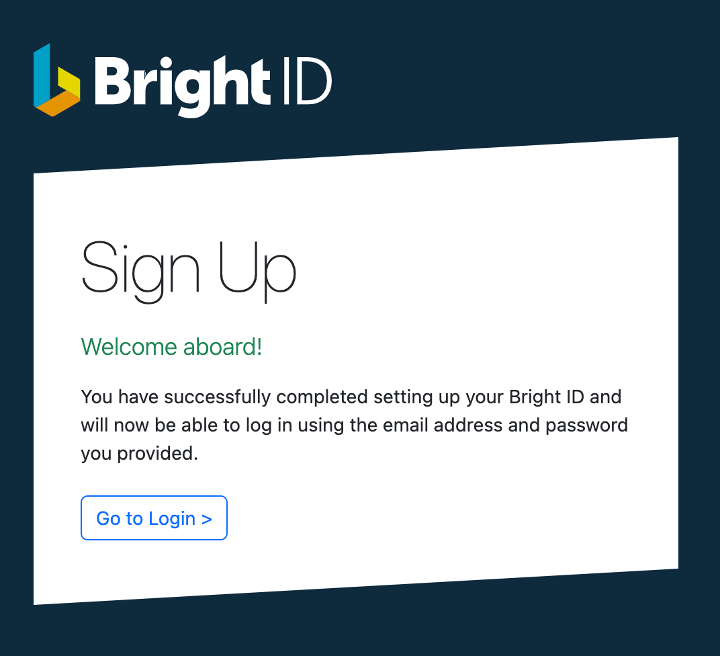
- To login to your account, enter your email address and password.

- Once you have signed in, go to ‘Licences’ to purchase the software.
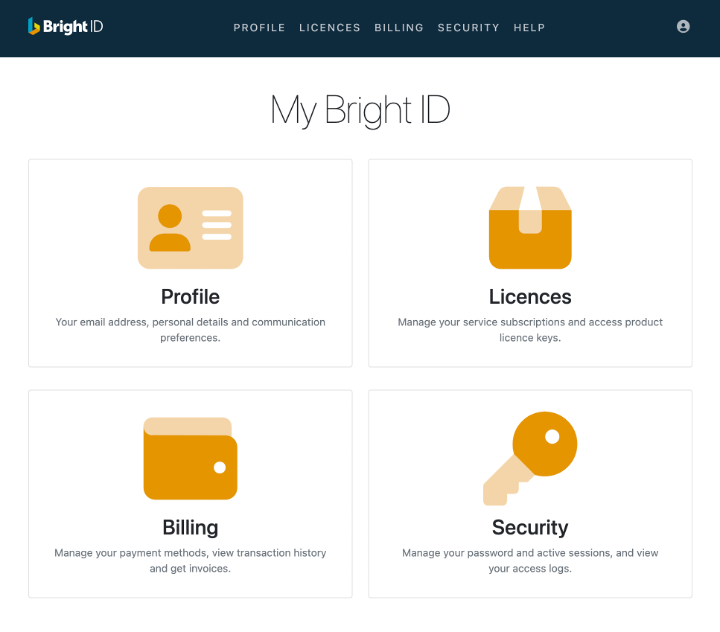
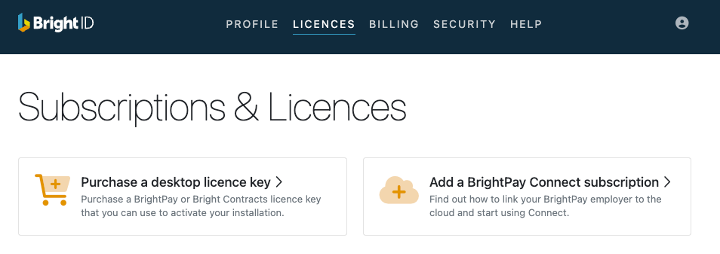
- Here you will see two options - purchase a desktop licence key and add a BrightPay Connect subscription. Select ‘purchase a desktop licence key’.
- You will now see an order form, where you can select the product(s) that you wish to order. Click add to order and choose the relevant licence type from the list.
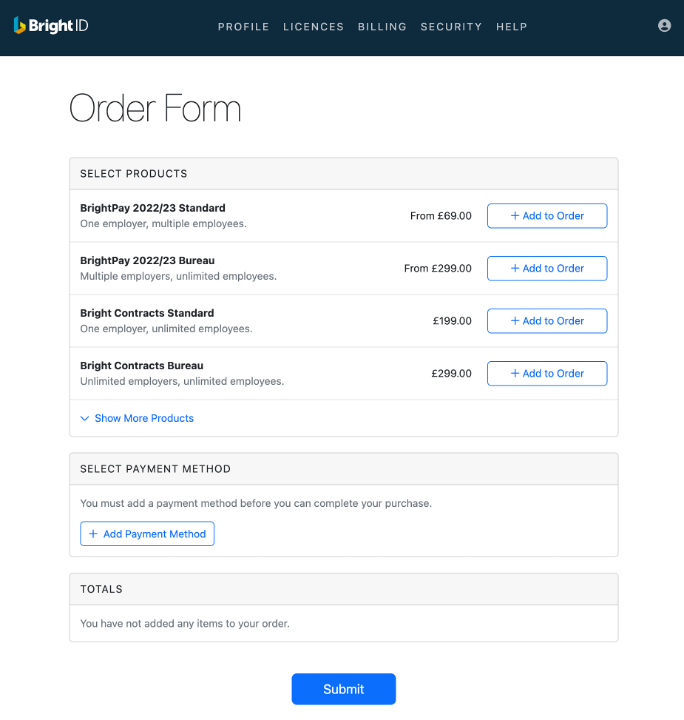

- Next, select a payment method. Choose between direct debit, which allows you to auto-renew your licence each year without the need to manually process the order, or credit/debit card if you want to use manual payments.
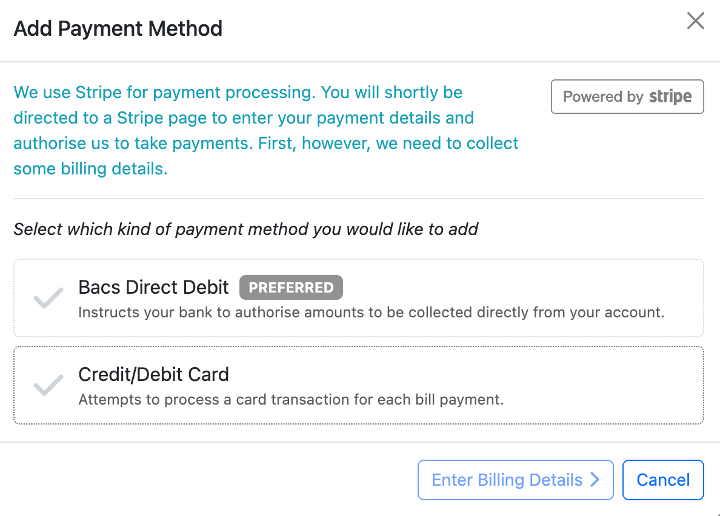
- Once you have entered your billing details you will be directed to a Stripe page where you can securely enter your payment details and authorise your payment.
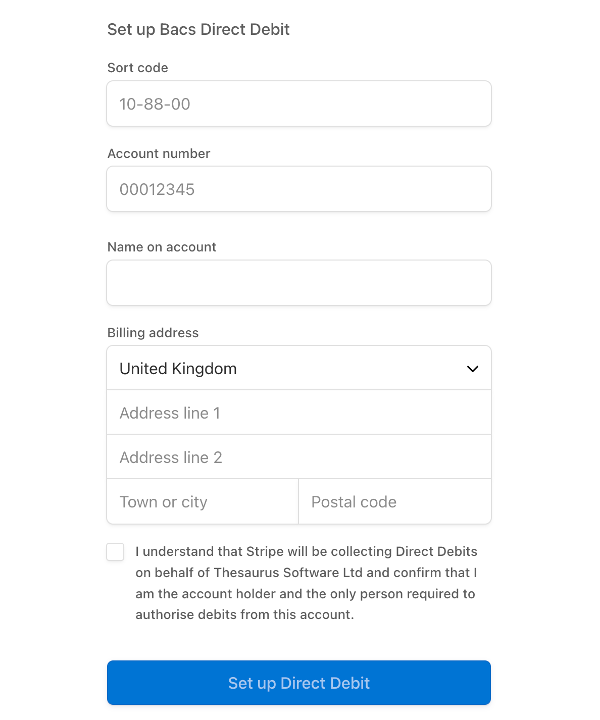
- Once you have successfully added your payment method, you will be re-directed back to your order form. Simply review your totals and click submit.
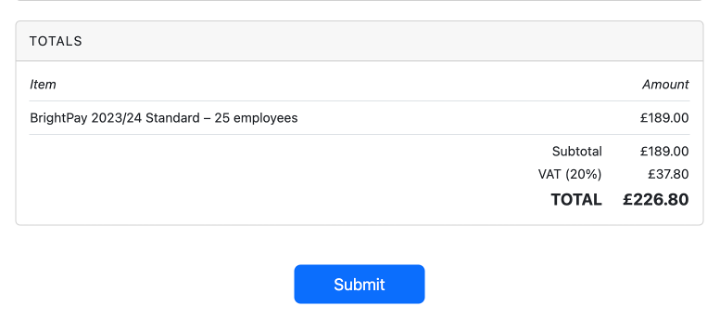
- Your order will now be processed, and we will email your licence key to you directly. Your licence key and invoice will also be available to view download at any point under the ‘billing’ tab in your account.
Need help? Support is available at 0345 9390019 or brightpayuksupport@brightsg.com.


