Enabling Employee Access to Self Service
BrightPay Connect provides a web-based portal where employees can browse and download their history of payslips and other payroll documents, view their payroll calendar, including annual leave, sick leave and parenting leave, request leave directly from Self Service, view their personal details and request to make updates to their personal details.
There are two ways for an employer/bureau to set up employee access to self service:
a) When linking an Employer to BrightPay Connect for the first time
1) Within your BrightPay software, open the company you wish to connect and click the grey Cloud icon in the top right hand corner of the screen.
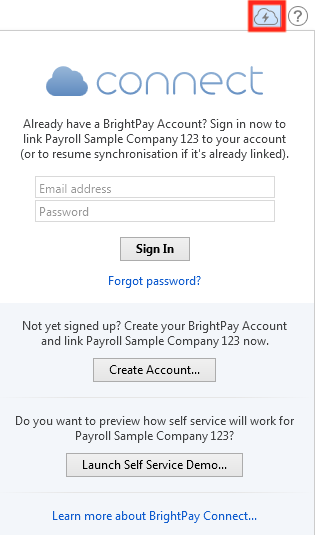
2) Enter your BrightPay Connect login details and click ‘Sign In’.
3) Next, click 'Link to BrightPay Connect' to bring you through to the set-up wizard.
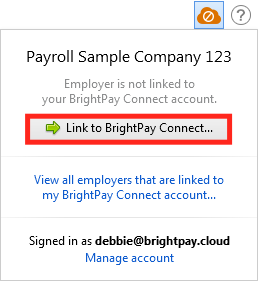
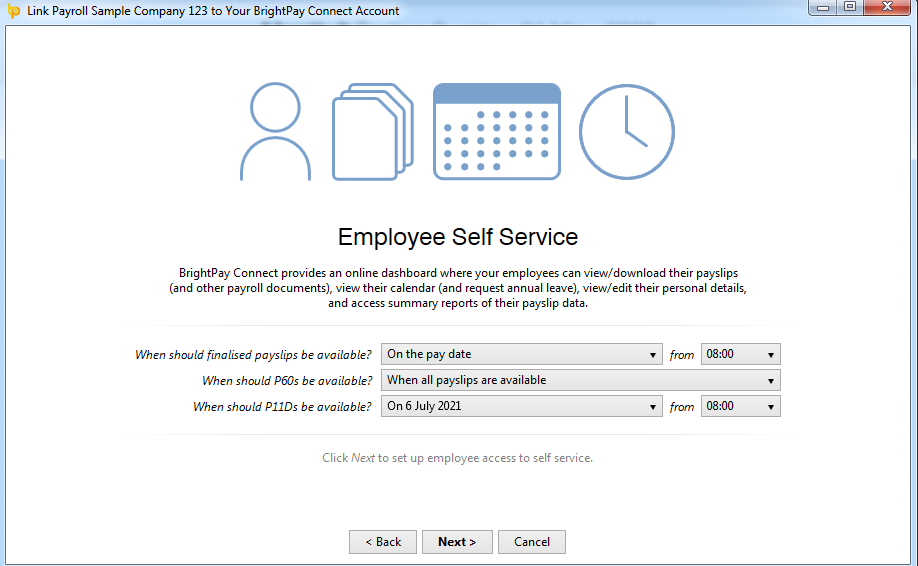
4) Read the information on the following two screens and click ‘Next’ when ready.
5) On the Employee Self Service screen, if your employees will be availing of the employee self-service facility, select when you would like finalised payslips, P60s and if applicable, P11Ds to be made available to them and click ‘Next’ again.
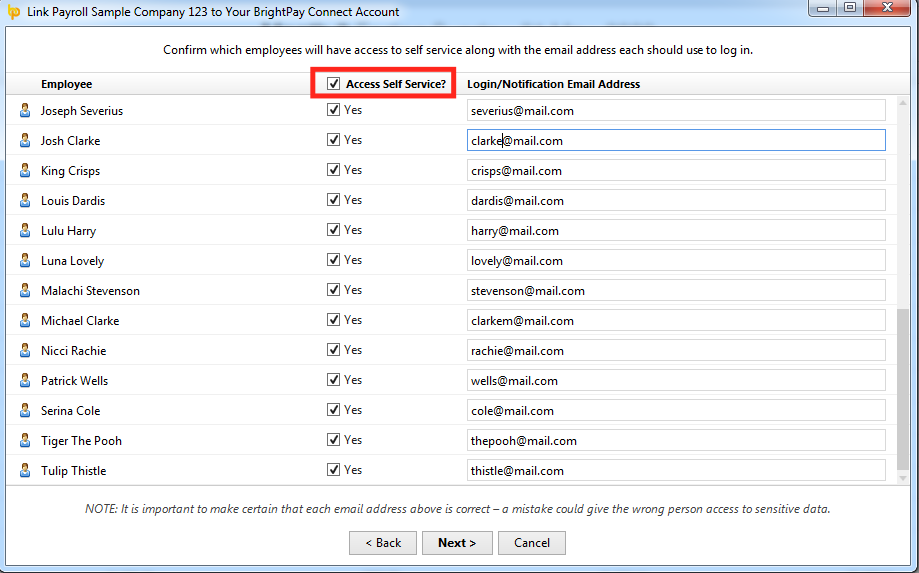
6) On the following screen, confirm the employees who will have access to Self Service, along with the email address they will each use to log in (each email address entered must be unique).
7) You are now ready to link your employer file to BrightPay Connect. Click ‘Finish’ to complete the process, followed by ‘Close’.
b) Using 'Employee Self-Service Options' within your BrightPay software
1) Within your BrightPay software, open the company you require and click the grey Cloud icon in the top right hand corner of the screen.
2) Enter your BrightPay Connect login details and click ‘Sign In’.
3) Next, select 'Employee Self-Service Options' under the green Cloud icon.
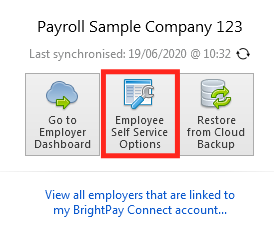
4) Under 'Employee Access', confirm the employees who will have access to Self Service, along with their email address they will each use to log in (the email address for each employee must be unique). Click 'Save' on completion.
5) Under 'Payslip and Document Availability', select when you would like finalised payslips, P60s and P11Ds to be made available to the employees and click ‘Save’ on completion.
You are now ready to send invitation emails to your employees to notify them that they now have access to the Self Service portal, where they can access their payslips and other payroll documents, view their calendar and request leave, and view their personal details and request to make updates to their personal details
Sending Self Service Invitation Emails
1) Log in to your BrightPay Connect account and select the employer required under the Employers tab.
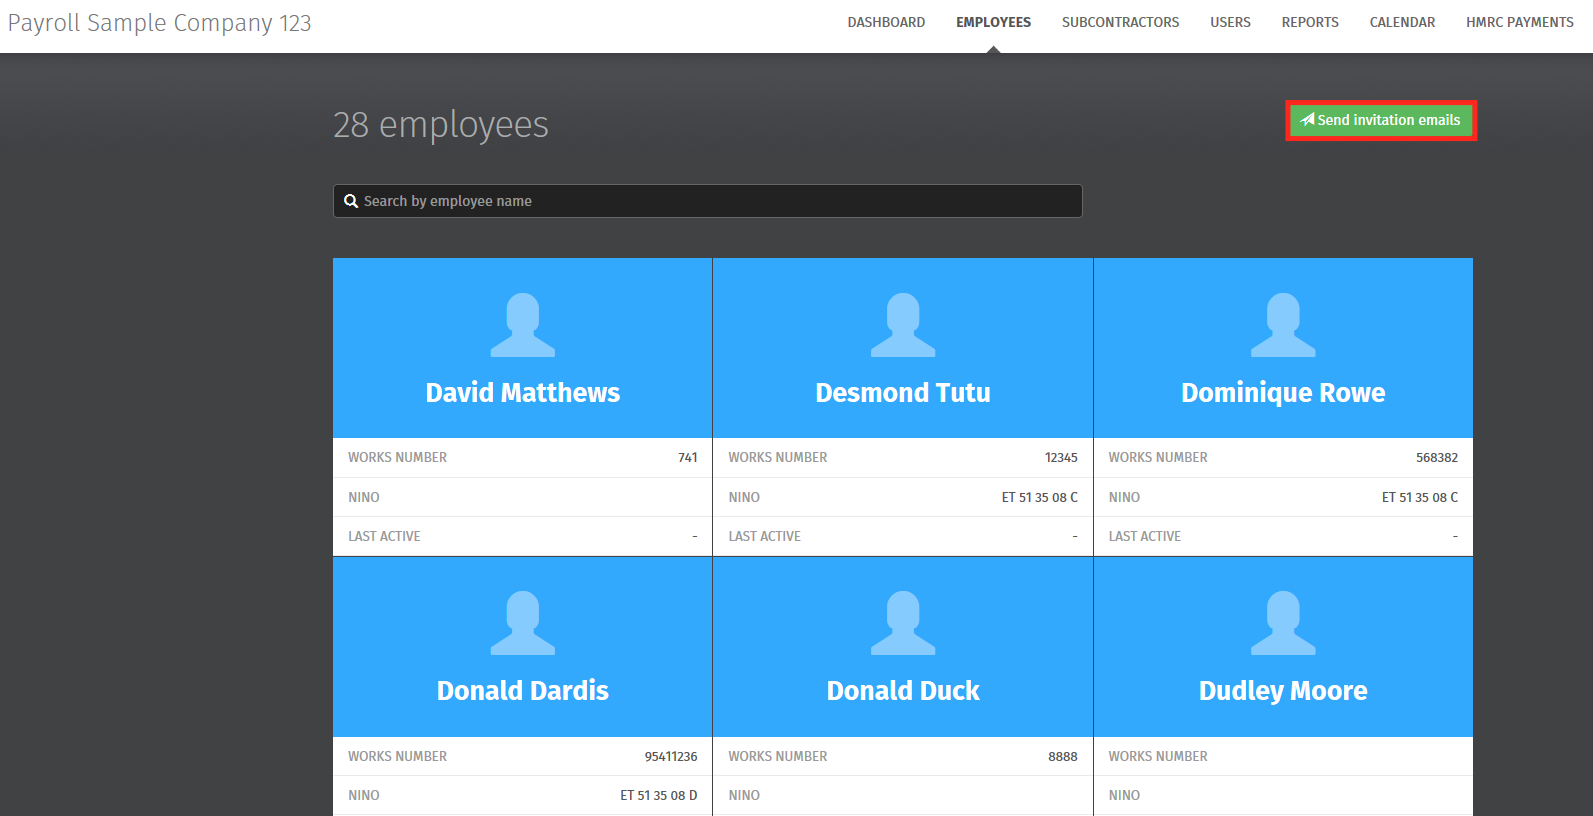
2) Click 'Employees' - all employees in the BrightPay employer file that has been linked to BrightPay Connect will be displayed here.
3) At the top right of the screen, click 'Send Invitation Emails'.
4) Select each employee that you would like to send a personalised email to with an overview of Self Service and instructions on how to log in.
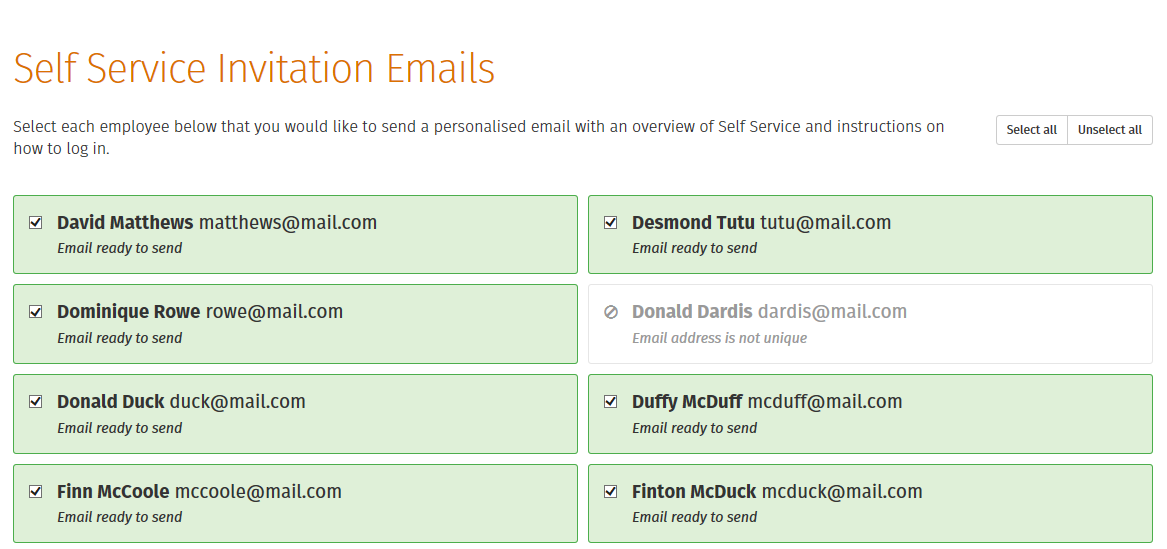
Please note: employees for whom self service has not been enabled or employees that do not have a unique email address will not be available for selection.
5) Click 'Send to Selected Employees' when ready and click 'OK'.
All employees selected will be sent a welcome email containing instructions on how they can log in to their own self service portal.
Need help? Support is available at 0345 9390019 or brightpayuksupport@brightsg.com.


